Softaculous is a tool inside your cPanel which you can use to install programs with ease on such things as WordPress and Joomla.
When you are using Softaculous to install programs, it will not become easy, it is a huge time saver since it automates a lot of the difficult tasks involved with software installation.
Note: you will not have Softaculous installed automatically on a Dedicated or VPS server. If you want Softaculous installed, you could get it from AMP.
In this tutorial we will teach you how to install a program with Softaculous which, in turn, can install up to 200 programs; the installation process for each one uses the same steps.
To install an application using Softaculous
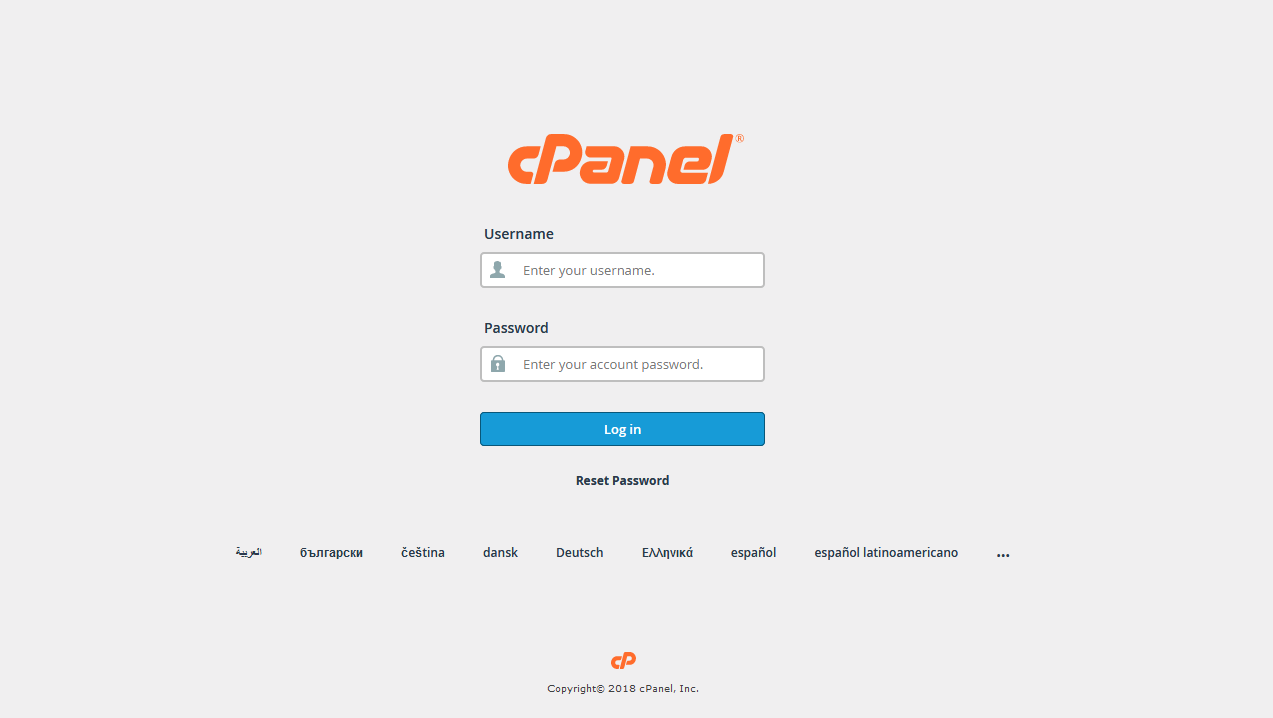
Step 1: Log into cPanel

Step 2: Next, click the ‘Softaculous’ link, which will be located under the ‘Software/Services’ section
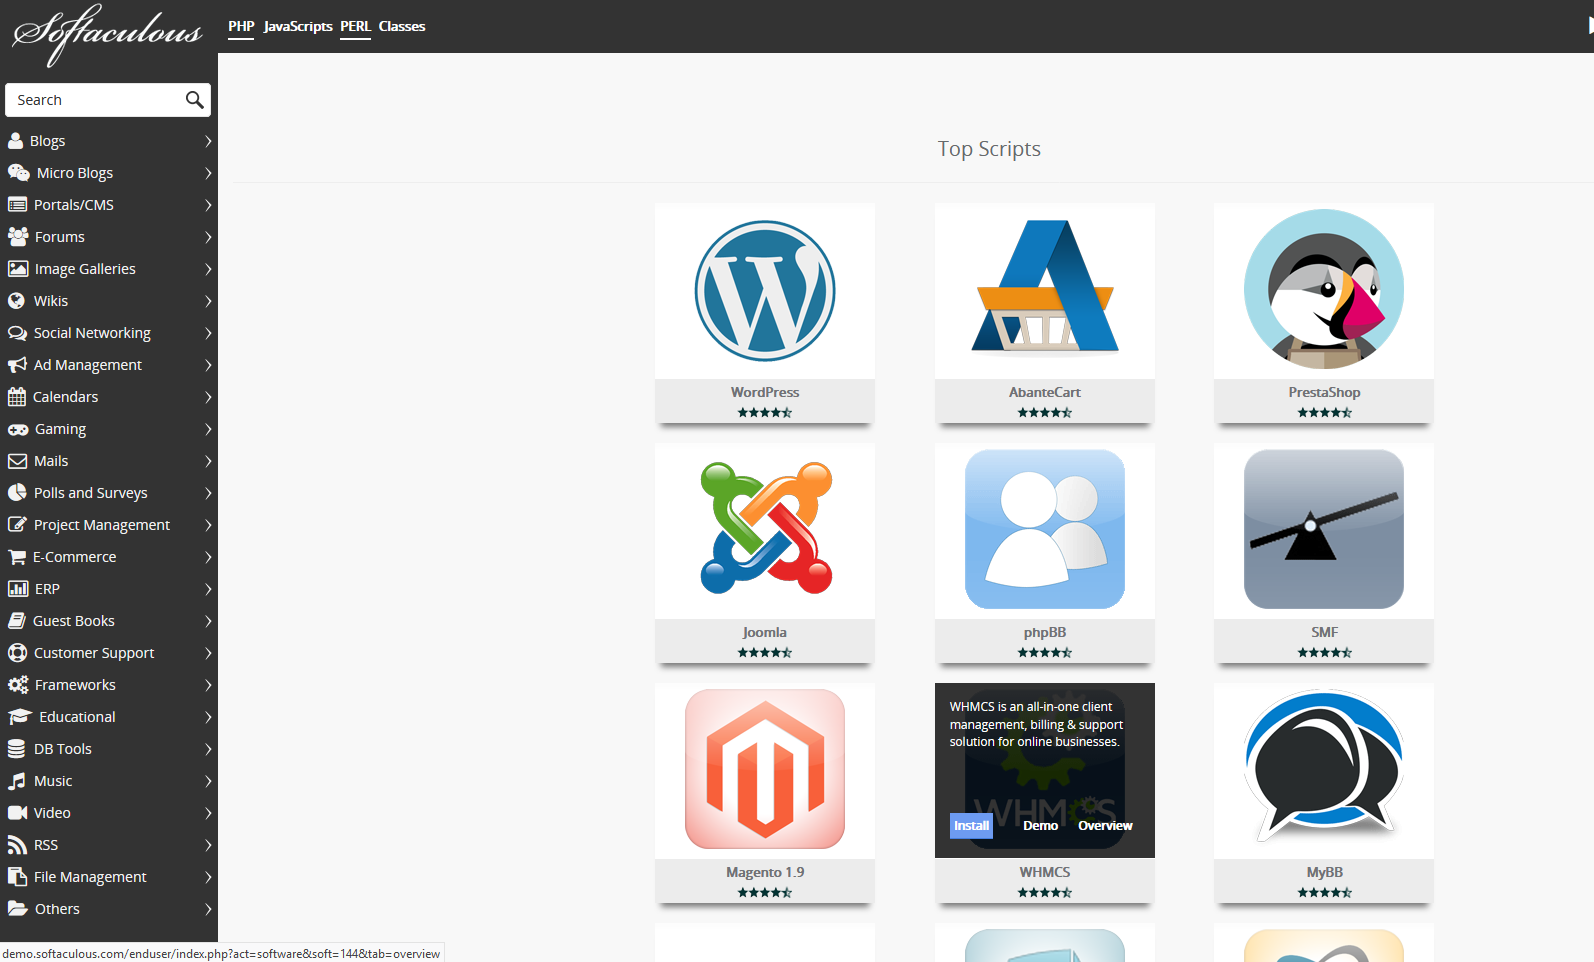
Step 3: Now, choose the program which you would like to install.

[Browsing Programs]
If you would like to browse through the programs available which you can install with Softaculous, click on any category on the left menu. For example: if you would like to find a software that you can use to run a blog, simply click on the ‘Blogs’ category and you will then see a list of blogging applications.
[Top Scripts]
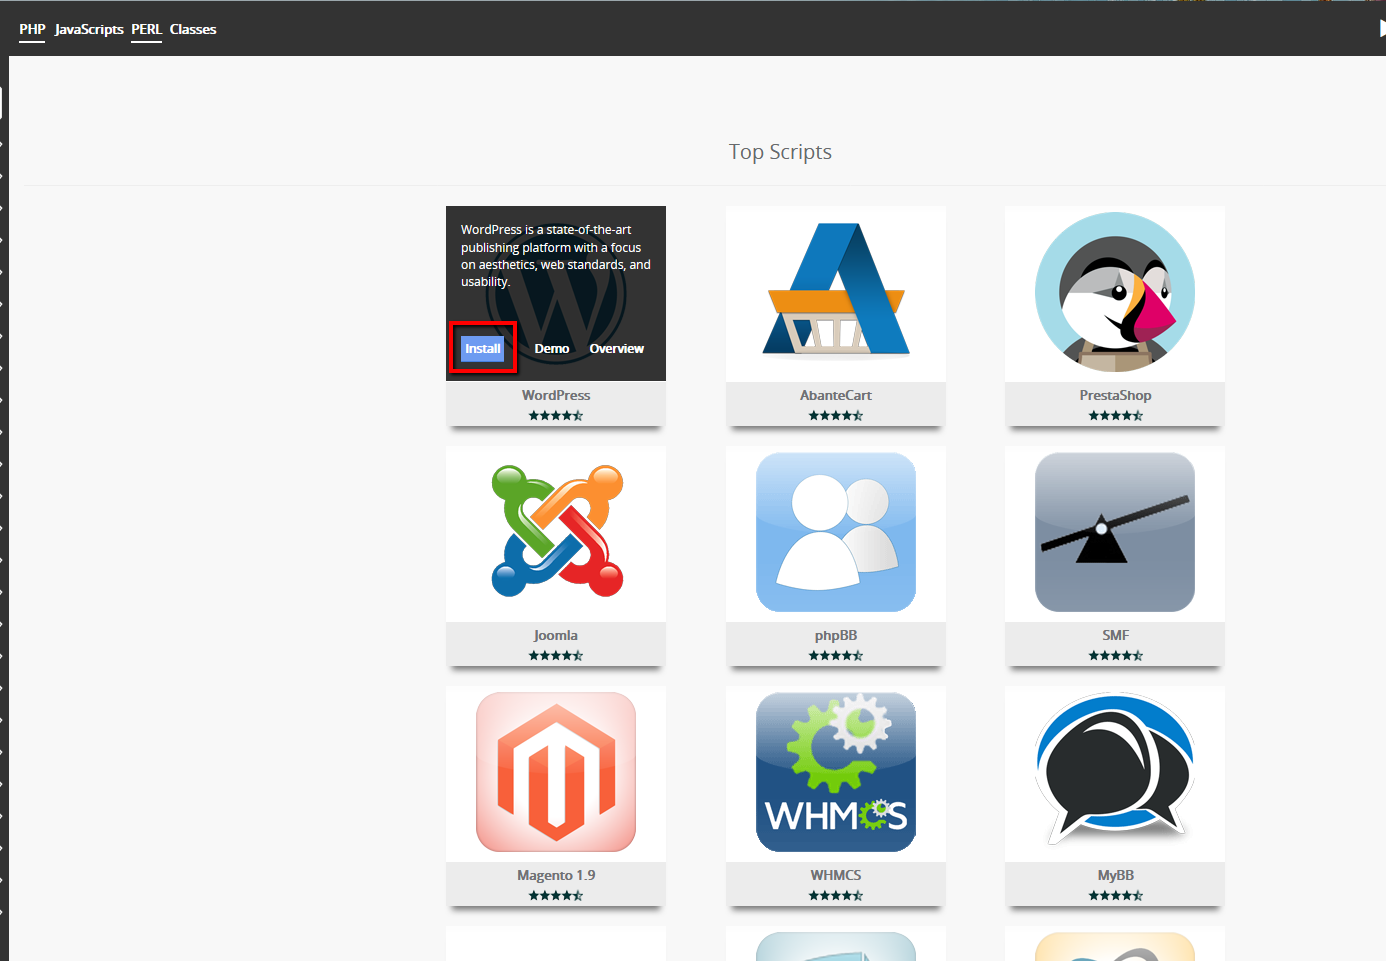
Under Top Scripts, you will see a listing of the most popular programs that are used on the web today. As an example, WordPress, which is one of the most popular programs on the web and it is located at the top of the list.
Step 4: Click on the ‘Install’ button which is located at the top of the software description.

Note: If you receive an error which states that there are files conflicting like robots.txt, .htaccess, or others, then you can go through your ‘File Manager’ and remove the files from your ‘public_html’. Then the Softaculous installer will go through with the install.
Step 5: Enter in all of the installation details and then press the ‘install’ button at the bottom of the page.
If you would like to email yourself a copy of those installation details for a later time, enter in your email address next to ‘Email installation details to’ which is located towards the bottom of the page.
Since the installation details vary from program to program, usually the same information is requested.
In this example, we are using Softaculous to install WordPress. Here you will see a summary of the settings that are asked for.
Software Setup:
Choose Protocol: The most common option here is going to be ‘http://’ or ‘https://www’.
Choose Domain: In case you have more than one domain name associated with your cPanel account, select what domain name you would like to install the program to.
In Directory: If you are interested in installing the program into its own folder, type the folder name here.
For example, if you would like users to go to ‘http://domain.com/blog’ rather than simply ‘http://domain.com’ to see your WordPress site, you would have to enter ‘Blog’ for this setting.
Database Name
If you do not have a particular reason to change it then you may leave the table prefix setting as is.
Site Settings
Site settings are usually settings like your site’s name and description. A lot of programs allow you to easily change those values once you install them.
Admin Account
When working with a program, you will normally have to log into them as an Administrator before you are able to start managing your website.
In this part, you will need to create a username and password.
Choose Language
If you are not interested in running the website in English, choose the appropriate language from the drop-down list.
Once you have pressed the install button, you will see a progress bar showing the amount of time left for the installation. Once your new software is installed, you should see a similar message to the one below.
‘Congratulations, the software was installed successfully.
Then, two links will show up, one of them is for your new site and the other is a link to your site’s login page.’