Many people may wish to create and test a new version of their site in a subfolder that does not affect their main domain.
After they do this, they might want to migrate the new site over to the root directory for the domain. This is quite common with WordPress.
Below you will see the steps to move your WordPress from a Subfolder to the Root Directory.
Make a Backup of your account
First, it is recommended that you have a backup of your account before doing any changes. Backup website files in cPanel.
Prepare your WordPress installation for the move
Before you physically move the files, you have to prepare the installation so that it can accept a new URL name.
Step 1: Begin by logging to your WordPress Dashboard.
Step 2: Once you are at the main dashboard, navigate to ‘Administration’, then ‘Settings and General’.

Step 3: After that, search for the WordPress address (URL): and change it from (domain.com/WordPress to domain.com)

Step 4: Finally, search for the Site Address (URL): then change it from (domain.com/WordPress to domain.com).
Moving your WordPress from a subfolder to your main folder
- Once you have backed up WordPress, removed the site files from the builder, and prepared your WordPress files, you can now move your WordPress to the primary folder.
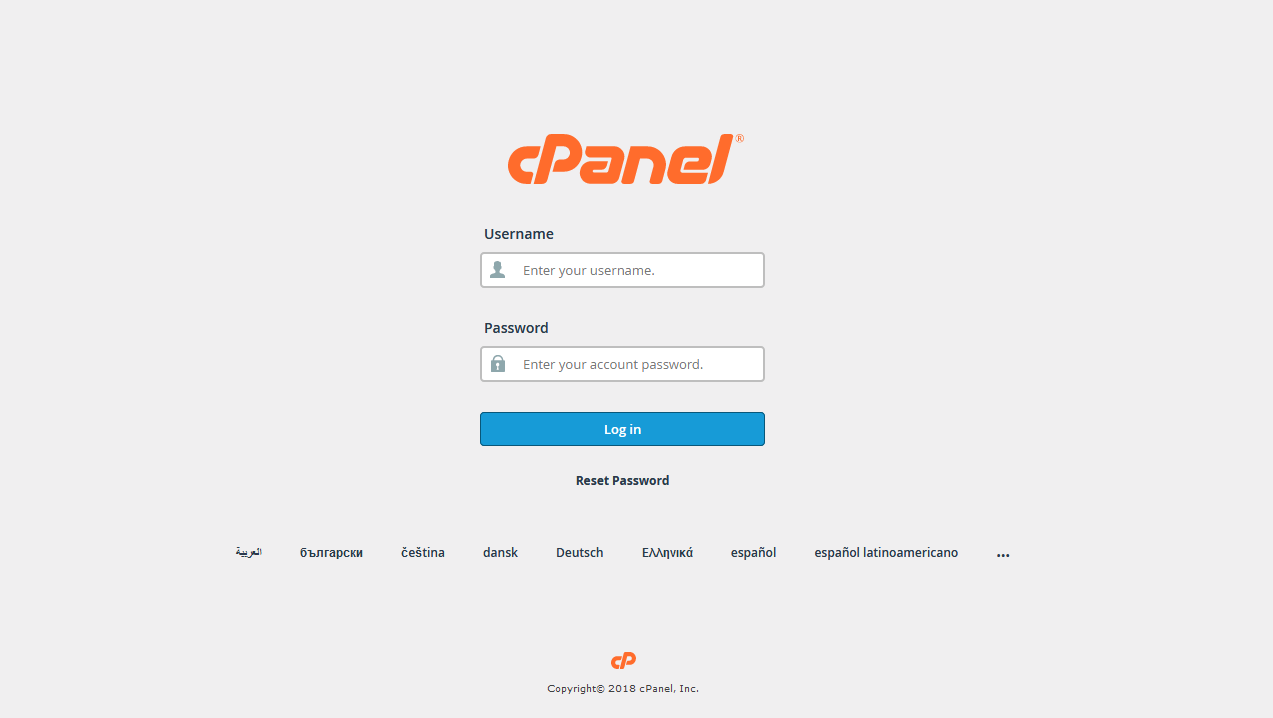
- Log into the cPanel admin dashboard.

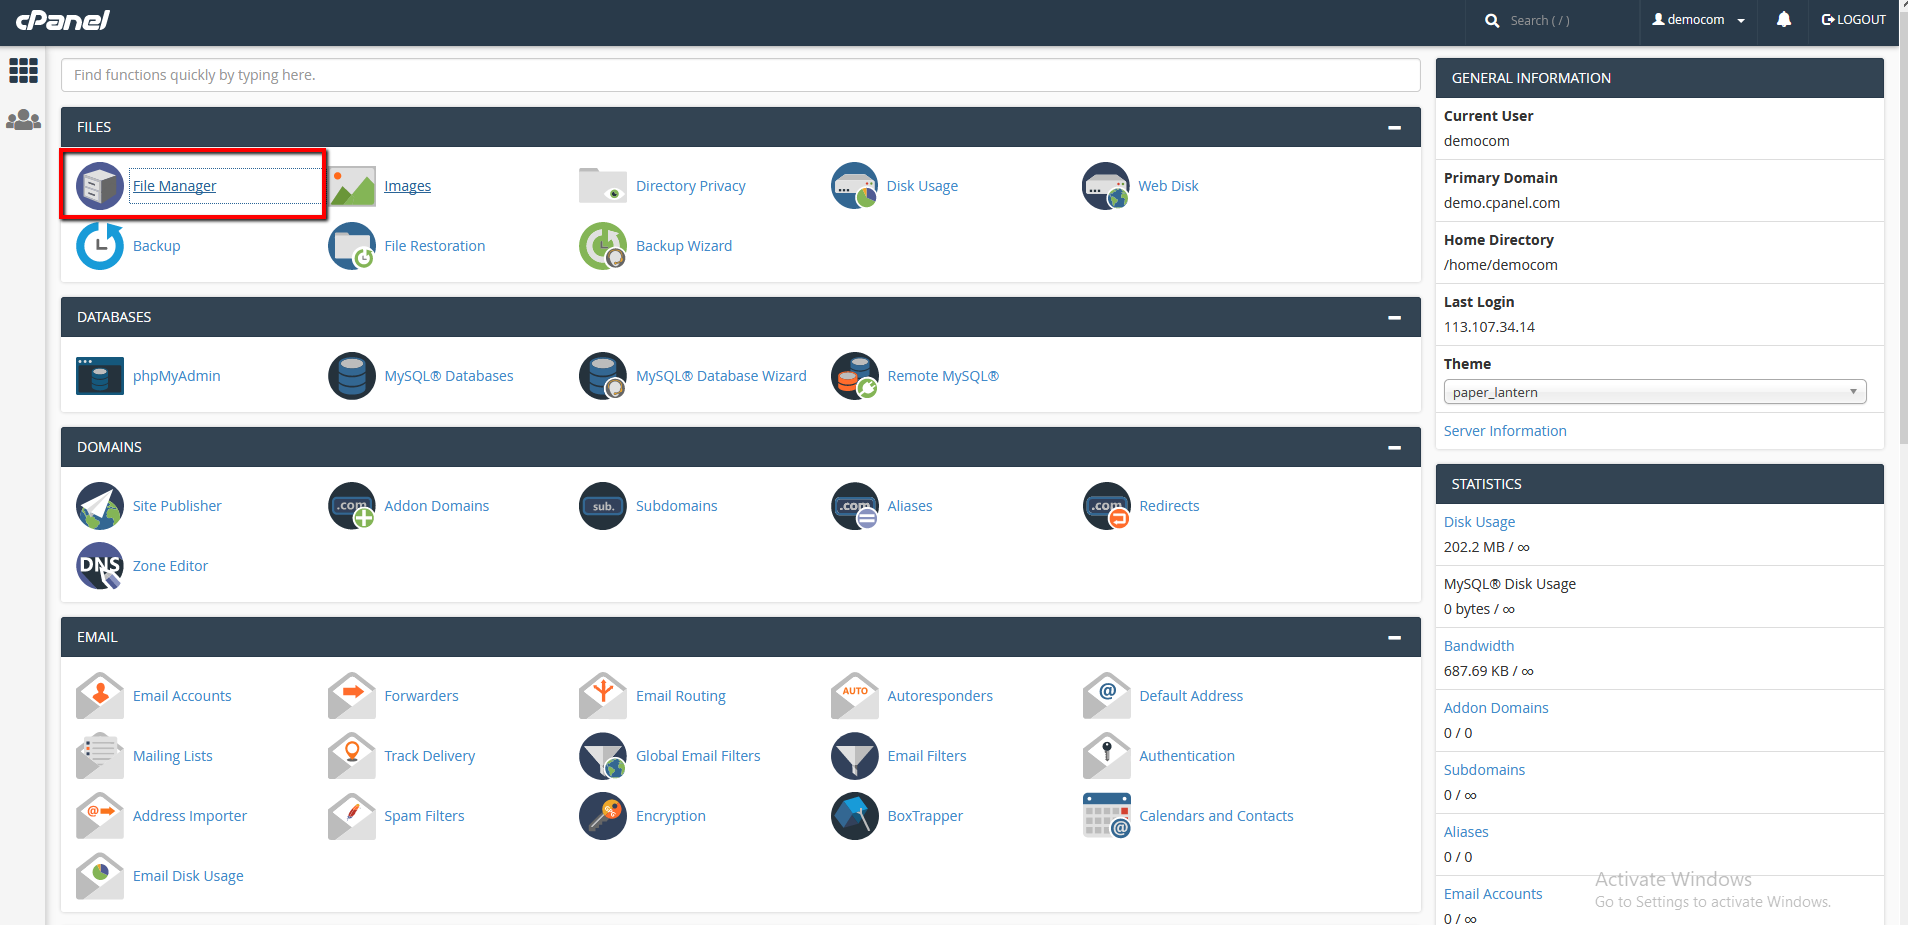
- After you are at the main cPanel section, search for the ‘Files’ category and then press on the ‘File Manager’ tool. Navigate to ‘Settings’ in the ‘Preferences’ window which appears, choose the checkbox titled ‘Show Hidden Files’.

- If you are in the File Manager, go to the folder where your WordPress site resides. For example: a folder called ‘WordPress’.
- In the right hand panel, you should see a list of every WordPress file and folder. Highlight all of them and click on the ‘Copy’ icon in the menu toolbar across the top of the page.
- A popup should appear which will allow you to go to the destination folder, proceeding with our WordPress folder example, it will show up as ‘public_html/WordPress’. Delete ‘/WordPress’ from the destination path so it will show up as ‘public_html’. Click on the ‘Copy Files’ button.
- That should copy them up to the ‘public_html’ directory. Use the File Manager to go back to the ‘public_html’ directory. (You may do this by simply pressing the Up One Level button on the toolbar across the top of the right hand panel.)
You will then see the same files as you have in the WordPress folder.
Feel free to delete the old WordPress folder now.
Log in and finish the URL details
Head into your New WordPress admin dashboard. For example: ‘example.com/wp-admin or example.com/wp-login.php’
Navigate to ‘Administration > Settings > Permalinks’ and make sure the link structure is the same as the new URL.