Introduction
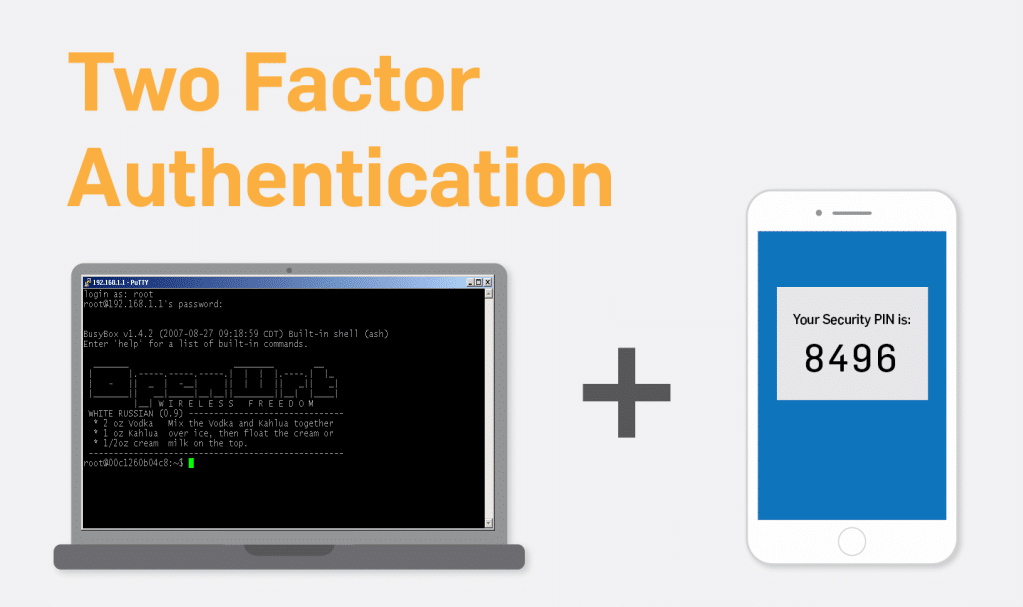
In order to protect your SSH server using a two-factor authentication, you may use the Google Authenticator PAM module.
Note that, every time you connect, you will need to enter the code from your smartphone.
Note: If you activate the google-authenticator for a regular user, but not for root, you will not be able to login with the root user directly anymore. You will have to login as the new user first, then go back to the super user with the ‘su’ command to get root.
Before you do anything on the VPS, install the Google authenticator application, it should be available for Android, iOS, and BlackBerry. Install the App with the market or go into your mobile browser and enter ‘m.google.com/authenticator’. After this, connect to your VPS and change to the root user.
Step One – Install Dependencies
sudo apt-get install libpam-google-authenticator
‘libqrencode3’ should be installed automatically and then allow you to use the camera of your phone to scan the qr-code directly from the console.
Step Two – Edit the Configuration File
In order to use the module, you will need to modify two configuration files.
nano /etc/pam.d/sshd
Append the line shown in the following to the top of the file.
auth required pam_google_authenticator.so
There is another file to modify as shown below.
nano /etc/ssh/sshd_config
Search for and replace the following line.
ChallengeResponseAuthentication yes
Step Three – Activate the Two-Factor Authentication For a User
You may activate the google-authenticator for the root user or any other user; change to the user who is going to use the two-factor authentication and enter the below.
google-authenticator
You are going to be asked a couple of questions, answer the two questions using ‘y’, yes.
Do you want authentication tokens to be time-based (y/n) y
Do you want me to update your “/home/USERNAME/.google_authenticator” file (y/n) y
Feel free to answer the questions after that in accordance with your own needs.
Be sure to use the Google Authenticator app to either scan the qr-code or add an account with the secret key and the verification code. Remember not to forget to print out the emergency scratch codes and store them in a safe place.
Next, change back to root and restart the SSH server. In the case that you have added two-factor authentication for the root user, you may move to the next step.
su root
Lastly, restart the SSH server.
/etc/init.d/ssh restart
That is all, you should now have a SSH server with an two-factor authentication.