If you ever start working with video content on your site, you can either upload or embed videos.
We have produced an article which explains the differences between the two if you would like to look at it: Embedding vs Uploading Videos.
To begin uploading content to your WordPress site, simply follow this tutorial.
Uploading video content to your WordPress site
Step 1: Log into your WordPress admin dashboard.
Step 2: Navigate to ‘Media’ on the left-hand side and then click on the ‘Add New button’ on the popup menu.

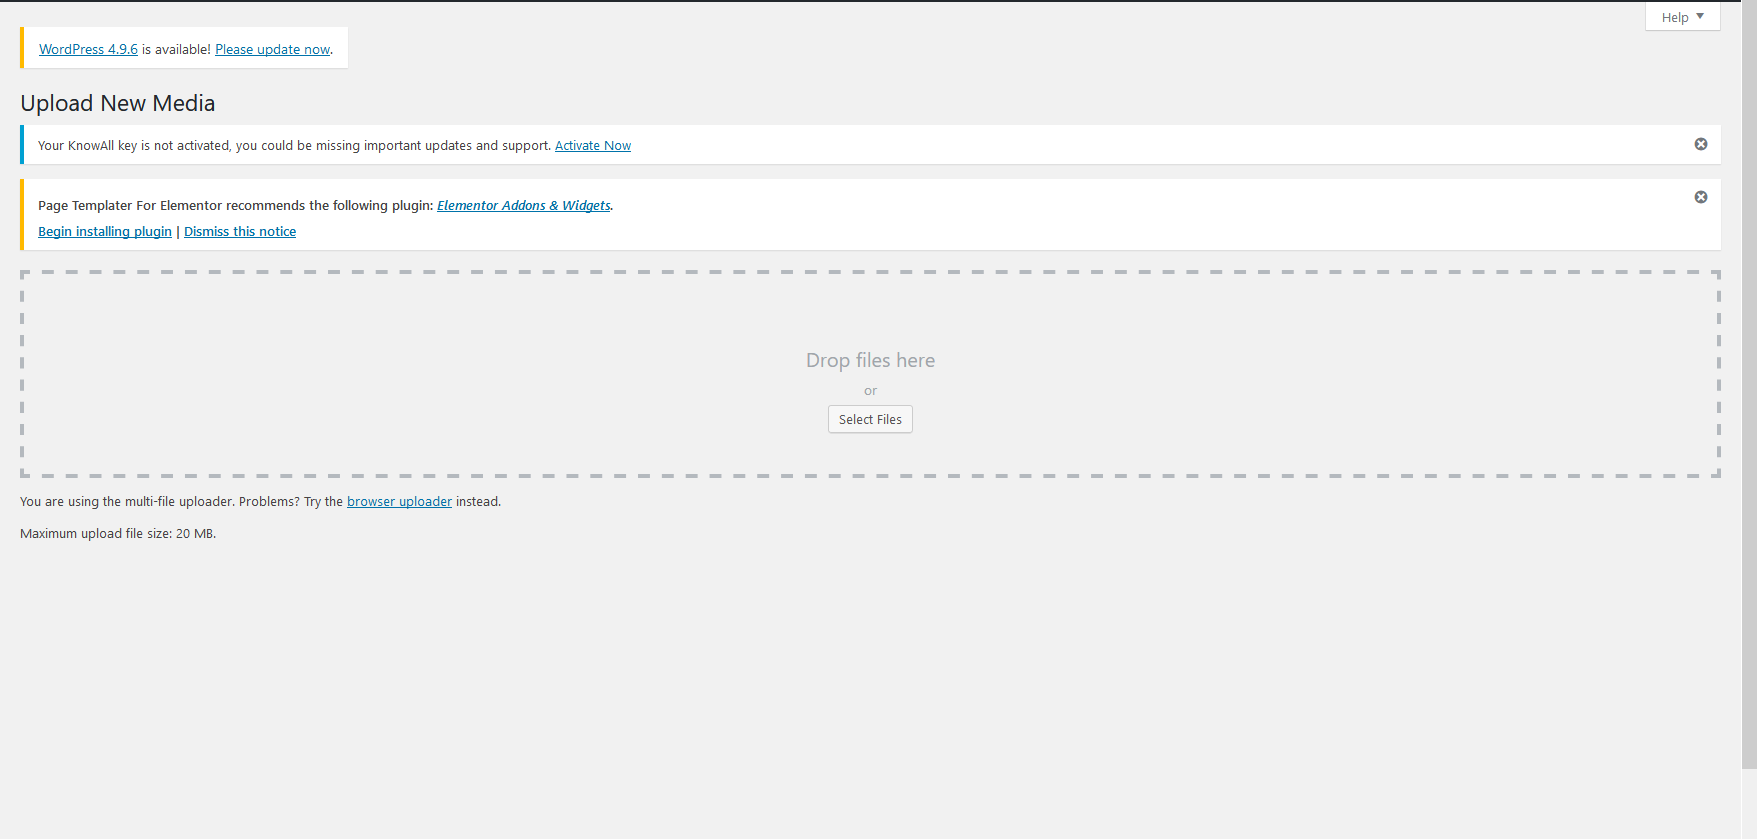
Step 3: This will direct you to the ‘Upload New Media’ page, click on ‘Select files’ in order to proceed.

Step 4: A window will show up, you will then be able to browse your local computer and choose which video you would like on your site. After you find it, upload it to your server.
Step 5: To put the video on your site, choose either ‘Pages’ or ‘Posts’ on the left-hand menu. In this example we have chosen ‘Posts’.
Step 6: Click on the post/page that you would like to edit or click on ‘Add New’. We chose to edit a post called ‘Hello World’.
Step 7: Once you are at the post/page editor, you should see a small ‘Add media’ icon above the body content editor, click it and it will bring you to the ‘insert media’ page.
Step 8: Now that you are at the Media Library, a list of existing data will show up. You should now be able to click on the video you would like to insert on your site. Then, click on the ‘Insert into post’ button.
Step 9: You should then be back at your post editor where the code is inserted for your video, click on the ‘update’ link so you can save the changes. This will cause the video link to be live on your site. The code below the image will create a link.

<a href="http://example.com/wp-content/uploads/2013/04/Moon_and_Clouds.wmv">Moon_and_Clouds</a>